
Introduction
Nothing beats the joy of seeing your furry friend’s eyes light up when you pull out homemade Peanut Butter Dog Treats. These tail-wagging delights are incredibly simple to make and pack a nutritional punch that store-bought treats simply can’t match. With just a few wholesome ingredients, you’ll create irresistible treats that support your dog’s health while satisfying their taste buds.
Ingredients List
For 20-24 medium treats:
- 2 cups whole wheat flour (or oat flour for grain-free option)
- 1/2 cup natural peanut butter (xylitol-free)
- 2 large eggs
- 1/2 cup plain Greek yogurt
- 2 tablespoons honey
- 1/4 cup water (as needed)
Healthy Substitutions:
- Replace peanut butter with almond butter or sunflower seed butter
- Substitute Greek yogurt with mashed banana for dairy-sensitive dogs
- Use coconut flour instead of wheat flour (reduce quantity to 1 cup)
Timing
Prep Time: 10 minutes
Cook Time: 15-18 minutes
Total Time: 25-28 minutes
How to Make It
1. Prepare Your Kitchen
Preheat your oven to 350°F (175°C) and line a baking sheet with parchment paper. This temperature ensures even baking without burning the natural sugars in the peanut butter, preserving the treat’s nutritional value while creating that perfect golden-brown finish your dog will love.
2. Mix the Wet Ingredients
In a large mixing bowl, combine the peanut butter, eggs, Greek yogurt, and honey. Whisk until you achieve a smooth, creamy consistency that smells absolutely divine. The Greek yogurt adds probiotics for digestive health, while the eggs provide essential amino acids for muscle development.
3. Create the Dough
Gradually fold in the flour, stirring until a soft dough forms. If the mixture feels too sticky, add flour one tablespoon at a time. If it’s too dry, incorporate water gradually. The perfect dough should feel slightly tacky but not stick to your hands – this texture ensures treats that are chewy yet firm enough to promote dental health through gentle scraping action.
4. Shape the Treats
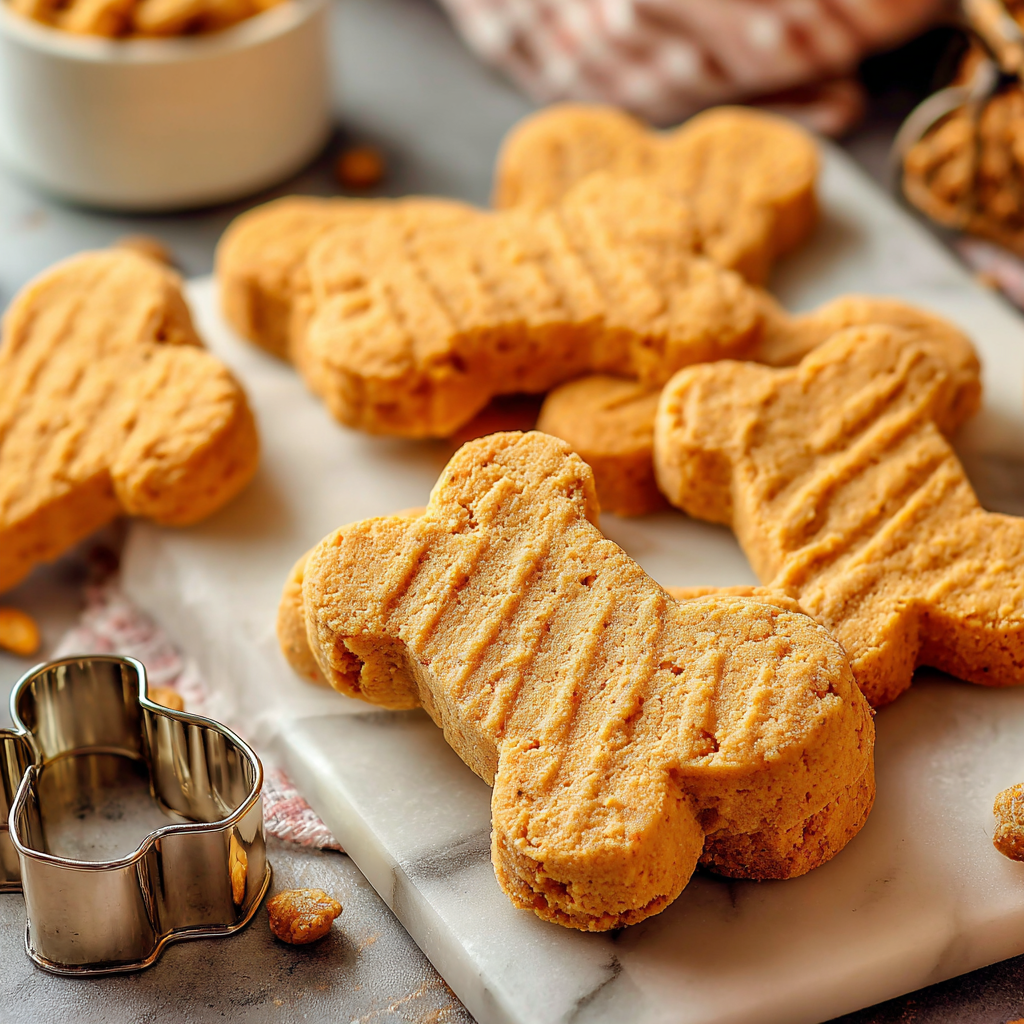
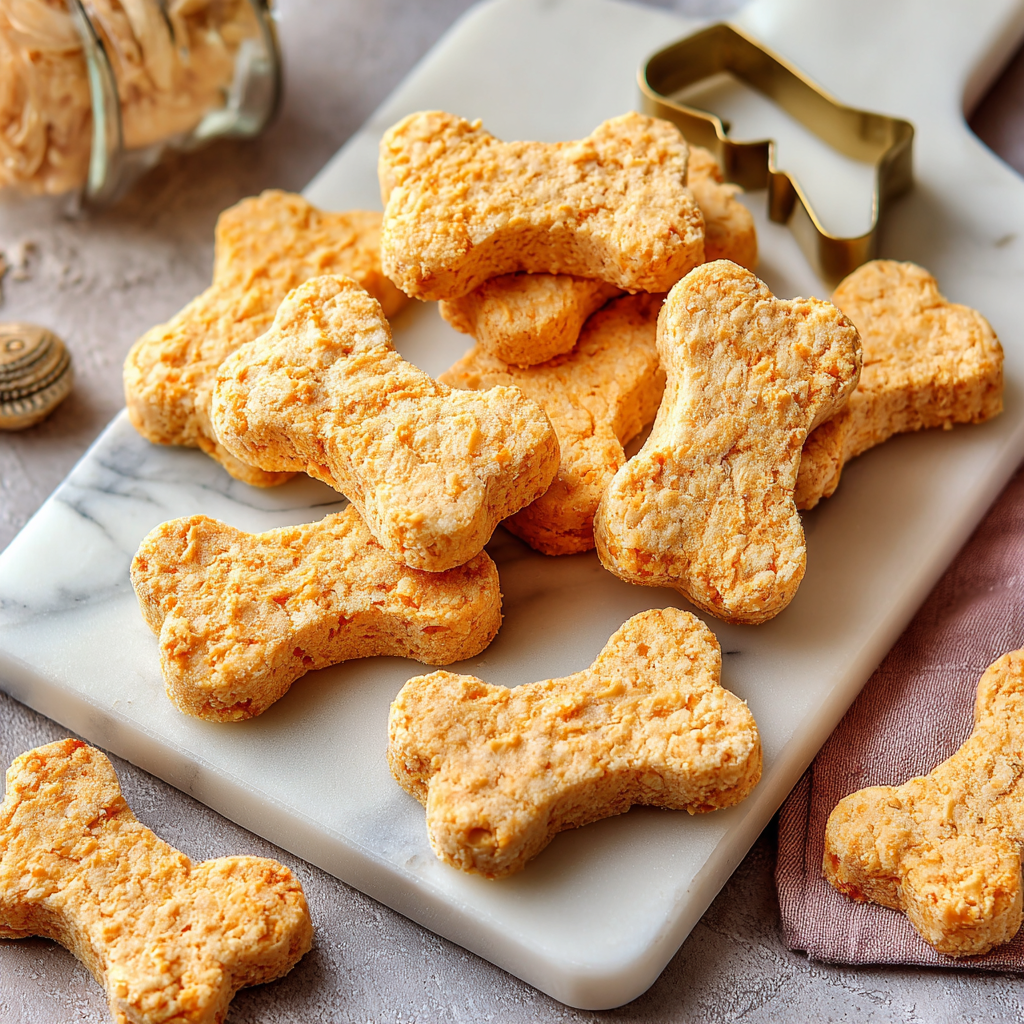
Roll the dough to 1/4-inch thickness on a lightly floured surface. Use bone-shaped cookie cutters or simply cut into small squares – your dog won’t mind the shape! The uniform thickness ensures even baking, preventing some treats from burning while others remain undercooked.
5. Bake to Perfection
Place treats on the prepared baking sheet, spacing them about 1 inch apart. Bake for 15-18 minutes until the edges turn golden brown and the surface feels firm to the touch. The kitchen will fill with an irresistible nutty aroma that might have your dog camping out nearby!
6. Cool and Serve
Allow treats to cool completely on the baking sheet for 10 minutes before transferring to a wire rack. This cooling period lets the treats firm up to the perfect texture – crispy outside with a slightly chewy center that dogs absolutely adore.
Nutritional Information
Each treat contains approximately:
- Protein: 3-4g (supports muscle maintenance and growth)
- Healthy Fats: 2-3g (promotes coat shine and brain health)
- Carbohydrates: 8-10g (provides sustained energy)
- Vitamins: B-complex from eggs, vitamin E from peanut butter
- Minerals: Calcium from yogurt, magnesium from whole wheat flour
The natural peanut butter provides heart-healthy monounsaturated fats, while Greek yogurt contributes beneficial probiotics for optimal digestive function.
Serving & Storage
Serving Size: 1-3 treats depending on your dog’s size (small dogs get 1, large dogs can enjoy 2-3)
Storage: Keep in an airtight container at room temperature for up to one week
Freezing: Store in freezer bags for up to three months – perfect for meal prep!
Pro Tip: Freeze individual treats in ice cube trays for summer cooling treats that double as enrichment activities.
Common Mistakes
The biggest mistake dog parents make is using peanut butter containing xylitol, which is toxic to dogs – always read labels carefully. Another common error is overbaking, which creates hard treats that can damage teeth. Watch for that golden-brown color and remove promptly when achieved.
Conclusion
These homemade Peanut Butter Dog Treats prove that showing love through food doesn’t require complicated recipes or expensive ingredients. Your dog deserves treats made with the same care you’d put into your own meals, and this simple recipe delivers both nutrition and tail-wagging satisfaction. Get ready to become your pup’s favorite chef – and don’t be surprised when they start following you to the kitchen more often!
FAQs
Can puppies eat these peanut butter treats?
Yes, puppies over 12 weeks old can enjoy these treats in smaller portions. Break larger treats into puppy-sized pieces to prevent choking.
How do I know if my peanut butter is safe?
Always choose natural peanut butter with only peanuts and salt listed as ingredients. Avoid any containing xylitol, artificial sweeteners, or added oils.
Can I make these treats grain-free?
Absolutely! Substitute the wheat flour with oat flour, coconut flour, or almond flour. Coconut flour absorbs more liquid, so use only 1 cup instead of 2.
Why are my treats crumbly?
Crumbly treats usually result from too much flour or insufficient wet ingredients. Add water one tablespoon at a time until the dough holds together properly.
How often can I give these treats to my dog?
Treats should comprise no more than 10% of your dog’s daily caloric intake. For most dogs, 1-3 treats per day is appropriate, depending on their size and activity level.
For more delicious homemade recipe ideas, explore our complete collection of dog-friendly meals and treats.
Find additional inspiration and tips on our recipe Pinterest board for creative variations and seasonal treat ideas.
Leave a Reply