
When autumn arrives, your pup deserves to enjoy the season’s bounty just as much as you do! These pumpkin dog treats are the perfect way to share the warm, comforting flavors of fall with your four-legged family member. Made with wholesome ingredients and packed with beta-carotene, fiber, and natural sweetness, these homemade snacks will have tails wagging from the first bite. Unlike store-bought treats filled with preservatives, you control every ingredient that goes into these delightful morsels.
Ingredients List
Main Ingredients:
- 1 cup pure pumpkin puree (not pumpkin pie filling)
- 2 eggs, beaten
- 2½ cups whole wheat flour
- ½ cup rolled oats
- 2 tablespoons natural peanut butter (xylitol-free)
- 1 tablespoon coconut oil, melted
Dog-Safe Substitutions:
- Instead of whole wheat flour: Use oat flour or brown rice flour for grain-sensitive dogs
- Instead of peanut butter: Try sunflower seed butter or almond butter (unsalted)
- Instead of coconut oil: Substitute with olive oil or melted unsalted butter
Timing
- Prep Time: 15 minutes
- Cook Time: 25-30 minutes
- Total Time: 45 minutes
- Yield: Approximately 24 medium treats
How to Make It
1. Prepare Your Kitchen
Preheat your oven to 350°F (175°C) and line a baking sheet with parchment paper. This temperature ensures even baking without burning the edges, while the parchment prevents sticking and makes cleanup effortless. Gather all your ingredients on the counter – this makes the mixing process smooth and prevents you from forgetting anything.
2. Mix the Wet Ingredients
In a large mixing bowl, whisk together the pumpkin puree, beaten eggs, peanut butter, and melted coconut oil until completely smooth. The mixture should be vibrant orange with no streaks of egg visible. This step is crucial because properly combined wet ingredients ensure even distribution throughout the dough, preventing some treats from being dry while others are too moist.
3. Combine Dry Ingredients
In a separate bowl, whisk together the whole wheat flour and rolled oats. This prevents clumping and ensures the oats are evenly distributed. The oats add a delightful texture and extra fiber that supports your dog’s digestive health.
4. Create the Dough
Gradually add the dry ingredients to the wet mixture, stirring until a soft dough forms. The dough should be slightly sticky but manageable – if it’s too wet, add flour one tablespoon at a time. If too dry, add a teaspoon of water. The perfect consistency feels like play dough and holds its shape when formed.
5. Shape the Treats
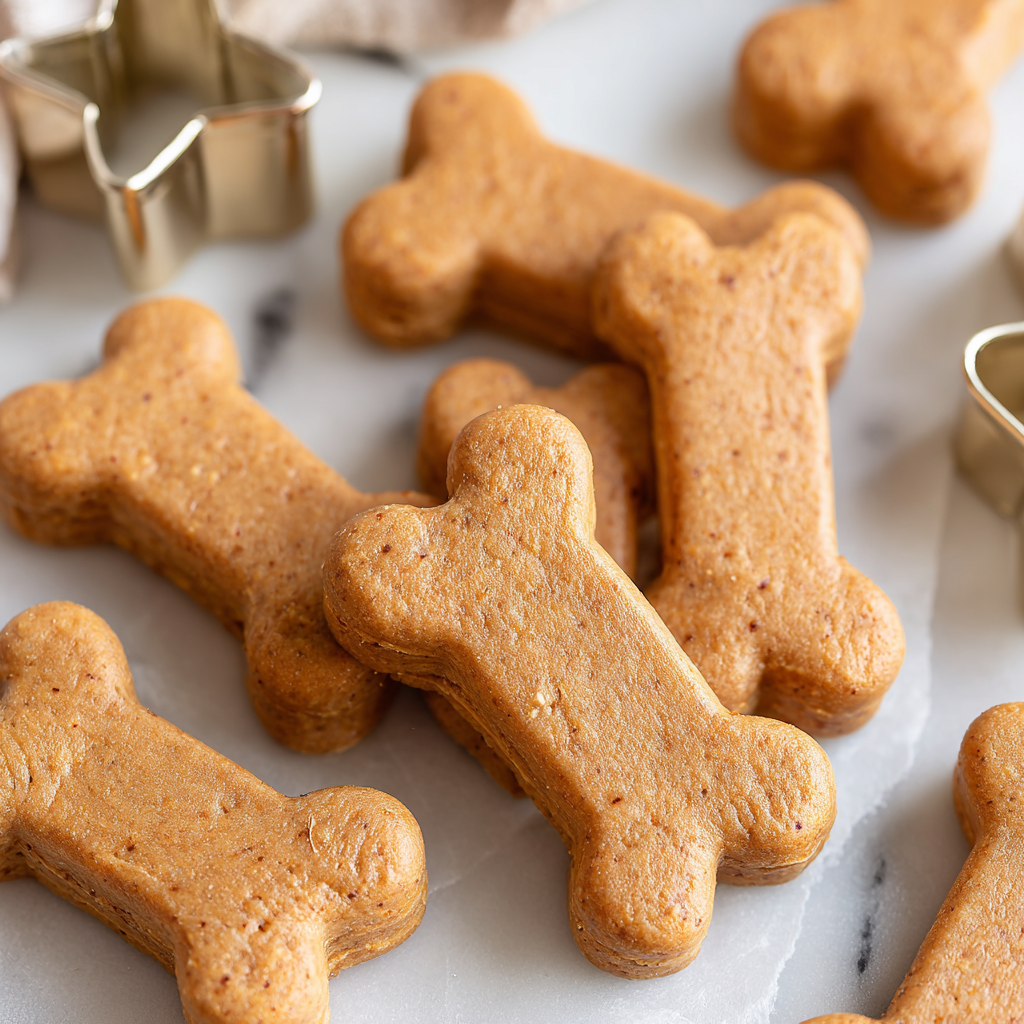
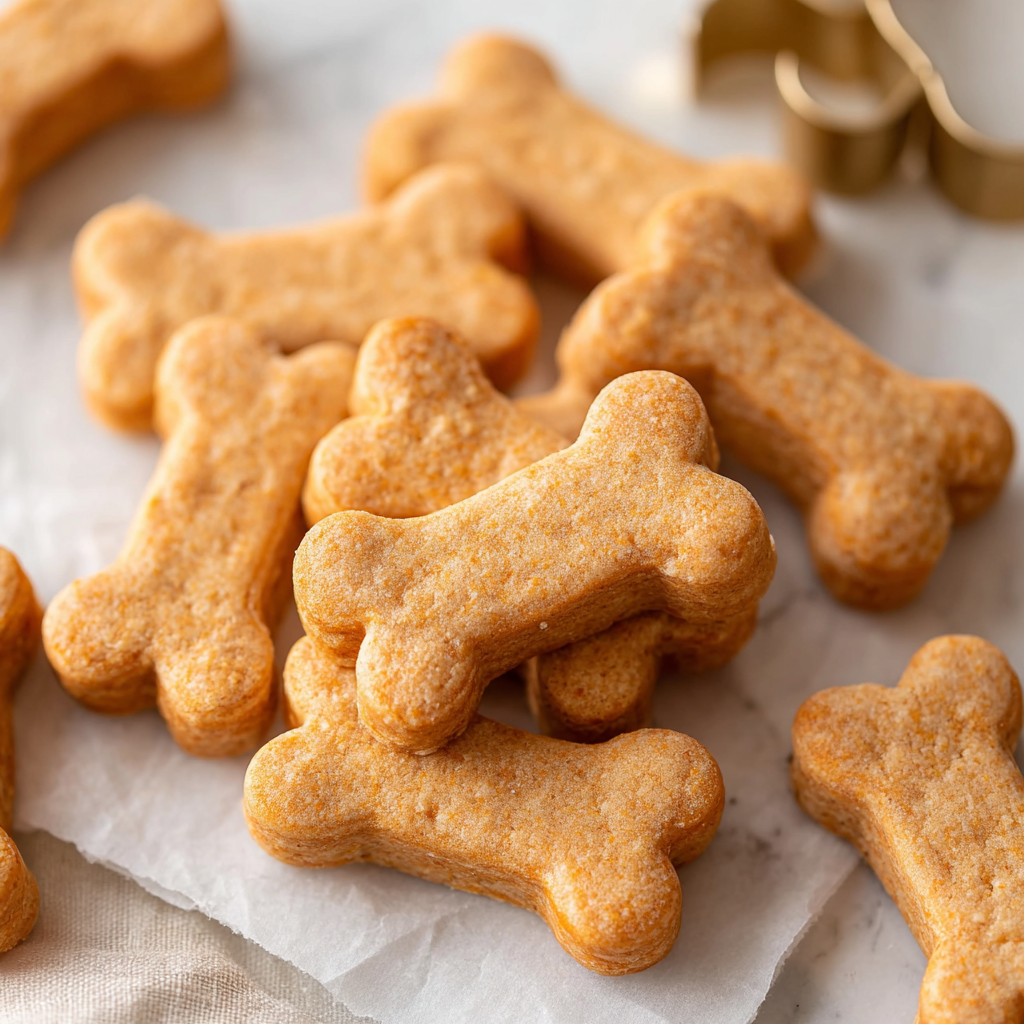
Roll the dough to about ¼-inch thickness on a lightly floured surface. Use cookie cutters in fun shapes or simply cut into squares with a knife. Bone shapes and pumpkin cutters are always a hit! Place treats on your prepared baking sheet, leaving small spaces between each one for even air circulation.
6. Bake to Perfection
Bake for 25-30 minutes until the treats are golden brown and firm to the touch. They should feel solid when gently pressed but not rock-hard. The edges will darken slightly, and your kitchen will smell absolutely amazing – like a cozy autumn bakery!
Nutritional Information
Each pumpkin dog treat provides approximately:
- Protein: 2-3 grams (supports muscle health)
- Fiber: 1-2 grams (aids digestion)
- Beta-carotene: Converted to Vitamin A for healthy vision and immune function
- Healthy fats: From peanut butter and coconut oil for coat shine
- Complex carbohydrates: Sustained energy without sugar spikes
Serving & Storage
Serving Guidelines:
- Small dogs (under 25 lbs): 1-2 treats per day
- Medium dogs (25-60 lbs): 2-3 treats per day
- Large dogs (over 60 lbs): 3-4 treats per day
Storage Instructions:
Store cooled treats in an airtight container at room temperature for up to one week. For longer storage, freeze in freezer bags for up to three months. Frozen treats make excellent summer snacks and help with teething puppies!
Common Mistakes
The biggest mistake is using pumpkin pie filling instead of pure pumpkin puree – pie filling contains spices and sugars that can upset your dog’s stomach. Always check peanut butter labels for xylitol, an artificial sweetener that’s toxic to dogs. Finally, don’t skip the cooling time before serving; hot treats can burn your pup’s mouth and the texture firms up as they cool.
Conclusion
These homemade pumpkin dog treats bring together nutrition and deliciousness in every bite. Your furry friend will love the natural sweetness, while you’ll appreciate knowing exactly what ingredients they’re enjoying. Baking for your dog strengthens your bond and ensures they get wholesome snacks free from unnecessary additives. Start mixing up a batch today – your pup’s excited tail wags will be all the thanks you need!
FAQs
Can I use fresh pumpkin instead of canned?
Absolutely! Steam and puree fresh pumpkin, but ensure it’s completely cooled and well-drained to prevent soggy treats.
How do I know if the treats are fully baked?
They should be firm to touch and golden brown. If they’re still soft after 30 minutes, bake for 5-minute intervals until done.
Are these treats suitable for puppies?
Yes, but break them into smaller pieces for puppies under 6 months old to prevent choking.
Can I make these grain-free?
Certainly! Replace wheat flour with coconut flour (use less) or almond flour for grain-sensitive dogs.
What if my dog has peanut allergies?
Simply omit the peanut butter or substitute with sunflower seed butter – the treats will still be delicious and safe.
For more delicious homemade recipe ideas, explore our collection. Find additional pet-friendly recipe inspiration on our Pinterest boards!
Leave a Reply