
Introduction
Your furry friend deserves fresh breath and healthy teeth, and these Homemade Apple & Cranberry Dog Dental Sticks deliver both in one delicious treat! These natural dental chews combine the gentle abrasive action of wholesome ingredients with the sweet, tangy flavors dogs absolutely love. Unlike store-bought alternatives loaded with preservatives, these homemade dental sticks give you complete control over what goes into your pup’s mouth while promoting better oral health.
Ingredients List
- 2 cups whole wheat flour (or oat flour for grain-free option)
- 1 medium apple, peeled and finely diced
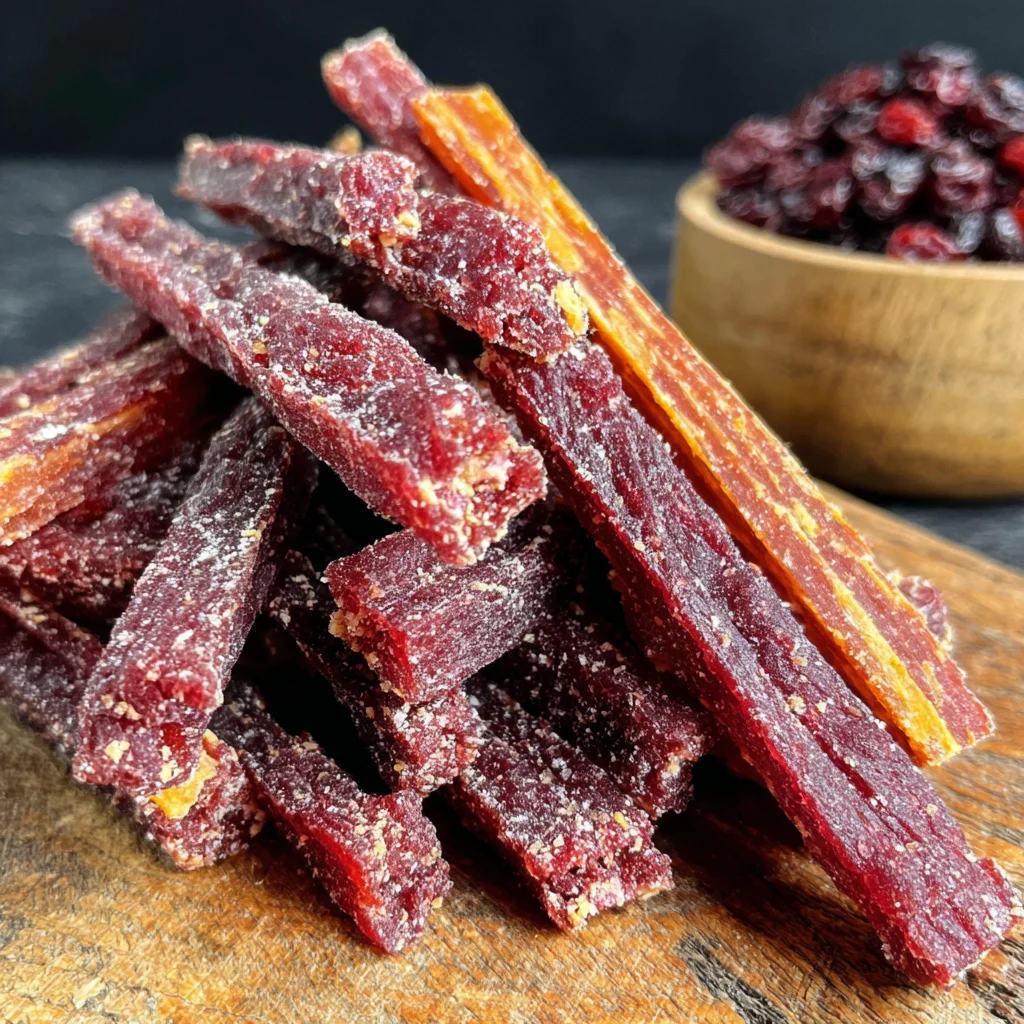
- ½ cup fresh cranberries, chopped (or ⅓ cup dried unsweetened cranberries)
- ¼ cup coconut oil, melted
- 1 large egg
- ½ cup water (adjust as needed)
- 1 tablespoon fresh parsley, minced
- ½ teaspoon cinnamon
Healthy Substitutions:
- Replace whole wheat flour with sweet potato flour for sensitive stomachs
- Substitute coconut oil with plain Greek yogurt for lower fat content
- Use blueberries instead of cranberries for antioxidant variety
Timing
Prep Time: 15 minutes
Cook Time: 25-30 minutes
Total Time: 45 minutes
Yield: 20-24 dental sticks
How to Make It
1. Prepare Your Workspace
Preheat your oven to 350°F (175°C) and line two baking sheets with parchment paper. The kitchen will soon smell like a cozy autumn bakery! Finely dice your apple and cranberries – smaller pieces distribute more evenly and create better texture in the final sticks.
2. Mix the Wet Ingredients
In a large mixing bowl, whisk together the melted coconut oil and egg until smooth. The coconut oil not only binds the ingredients but also provides healthy fats that support your dog’s coat and skin health. Add the diced apple, cranberries, and fresh parsley, stirring until evenly coated.
3. Combine Dry and Wet Mixtures
Gradually add the flour and cinnamon to your wet ingredients, mixing until a soft dough forms. Add water one tablespoon at a time if the mixture seems too dry. The dough should hold together without being sticky – think of it as slightly firmer than cookie dough. This texture ensures the sticks maintain their shape during baking.
4. Shape the Dental Sticks
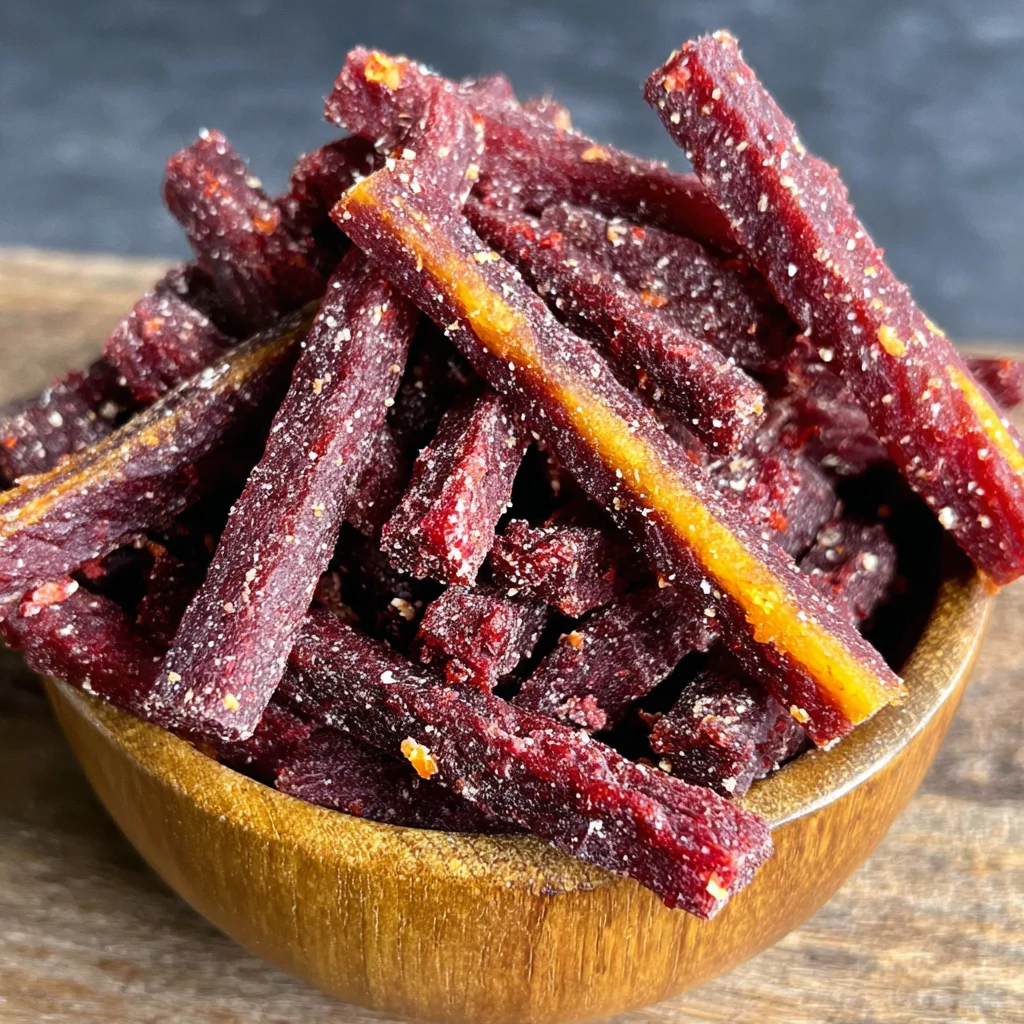
Turn the dough onto a lightly floured surface and roll it to about ½-inch thickness. Using a knife or pizza cutter, cut into strips approximately 4 inches long and ¾ inch wide. The slightly rough edges actually help with the dental cleaning action! Transfer the strips to your prepared baking sheets, leaving space between each stick.
5. Bake to Perfection
Bake for 25-30 minutes, or until the sticks are golden brown and firm to the touch. The cranberries may pop slightly during baking – this is perfectly normal and adds to the rustic charm. For extra-hard dental sticks, turn off the oven and let them cool inside with the door slightly open for an additional 15 minutes.
6. Cool and Test
Allow the dental sticks to cool completely on a wire rack. They’ll continue firming up as they cool. Test one yourself – it should have a satisfying crunch without being rock-hard. Your dog’s tail will start wagging the moment they catch that irresistible apple-cinnamon aroma!
Nutritional Information
Each dental stick provides approximately:
- Protein: 3-4g (supports muscle maintenance)
- Healthy Fats: 2g (promotes coat shine and skin health)
- Fiber: 1.5g (aids digestion and dental cleaning)
- Vitamin C: From cranberries and apples (immune system support)
- Antioxidants: Natural compounds that fight inflammation
The apple provides natural enzymes that help break down plaque, while cranberries contain proanthocyanidins that prevent bacteria from adhering to teeth and gums.
Serving & Storage
Serving Size: 1-2 sticks daily for medium dogs, adjust based on your dog’s size and dietary needs. These treats should complement, not replace, regular dental care and tooth brushing.
Storage: Store in an airtight container at room temperature for up to one week, or freeze for up to three months. For maximum freshness, divide into weekly portions and freeze separately. The sticks actually maintain their crunch beautifully after freezing!
Pro Tip: Let frozen sticks thaw for 5 minutes before serving for optimal texture.
Common Mistakes
Avoid overbaking, which creates overly hard sticks that could damage teeth. Don’t skip the cooling period – warm treats can be too soft and won’t provide the dental benefits you’re seeking. Never add sugar or artificial sweeteners, as dogs don’t need extra sweetness and some artificial options are toxic. Always ensure cranberries are unsweetened, as added sugars contribute to dental problems rather than solving them.
Conclusion
These Homemade Apple & Cranberry Dog Dental Sticks prove that healthy dental care can be both delicious and natural. Your dog gets a tasty reward while you get peace of mind knowing exactly what ingredients they’re enjoying. Make a batch this weekend and watch your furry friend’s excitement – and fresher breath – speak for themselves! Check out our recipe collection for more healthy homemade treats.
FAQs
Q: Can puppies eat these dental sticks?
A: Yes, puppies over 4 months old can enjoy these treats. Break them into smaller pieces for younger or smaller puppies to prevent choking.
Q: How often should I give my dog these dental sticks?
A: 1-2 sticks daily work well as part of a balanced diet. Always supervise your dog while they’re enjoying any dental chew.
Q: Can I make these grain-free?
A: Absolutely! Substitute the whole wheat flour with oat flour, coconut flour, or sweet potato flour for grain-sensitive dogs.
Q: Do these really help with dental health?
A: While these treats support oral health through gentle abrasive action, they work best alongside regular tooth brushing and professional dental cleanings.
Q: Can I double the recipe?
A: Yes! This recipe doubles beautifully. Just ensure even baking by rotating your pans halfway through cooking time.
Leave a Reply